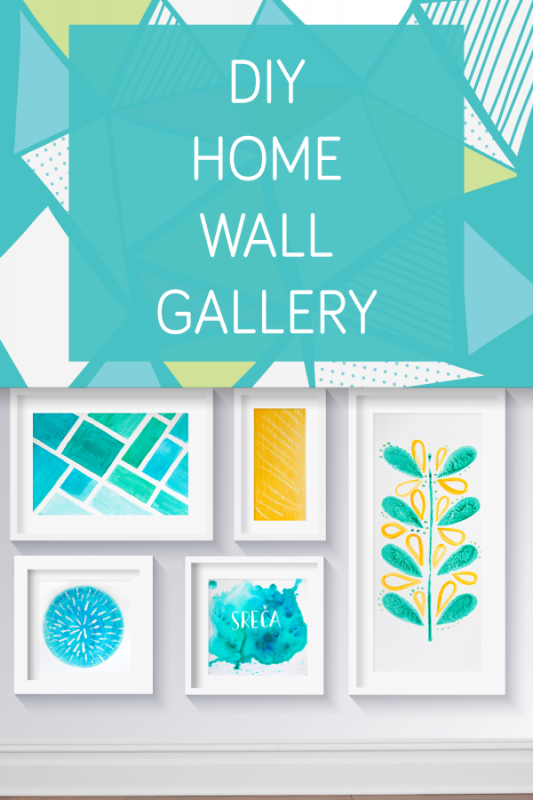
I always liked wall settings of paintings, photography, quotes, illustrations and posters, we can call that wall gallery. Modern way of interior designs, with straight lines and minimalistic decor can be very dull. That is why this colorful add-ons, can give us more pleasant feeling. Especially I like the wide white frames, that really come to life on colored walls. You can make that kind of wall gallery very easy. For all of you, creative souls, this is definetly a fun art project. In today’s DIY I prepared few simple painting techniques for your artworks. I suggest that first, you buy some frames and then adjust the painting size to them. Choose one or two colors that get along with your current interior color scheme. You can also have black and white combination or even include some gold or silver shades. Keep in mind, that you will make five different artworks, but they need to have the same context.
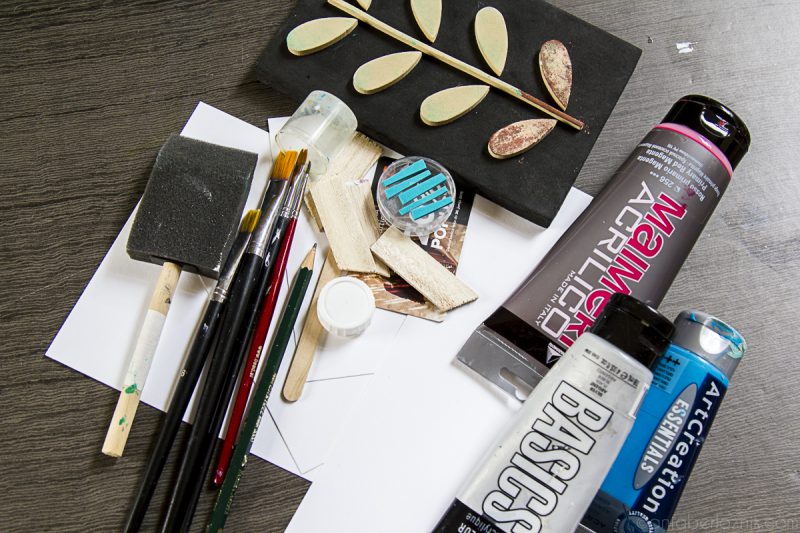
Art supplies
- thick paper for painting
- painting colors (acrylic, watercolor or similar)
- pencil, compasses, ruler, brush
- white crayon
- water-resistant surface or a foil bag
- various objects for stamping
Artwork 1:
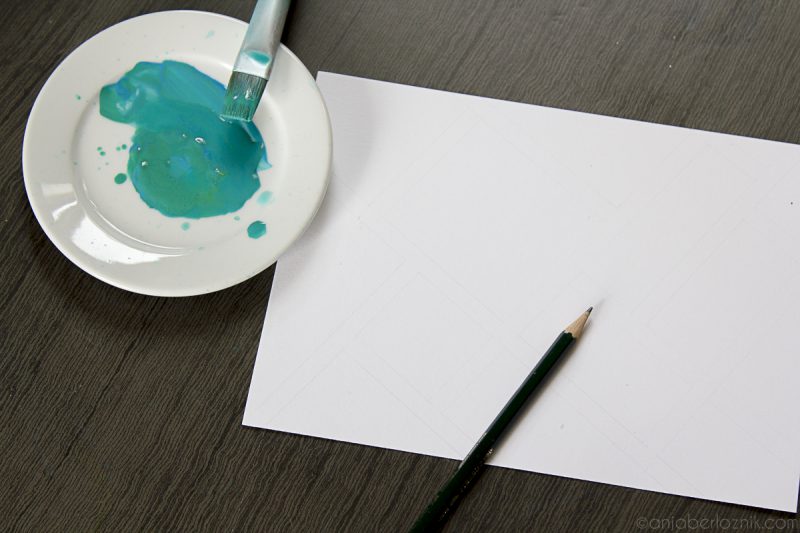
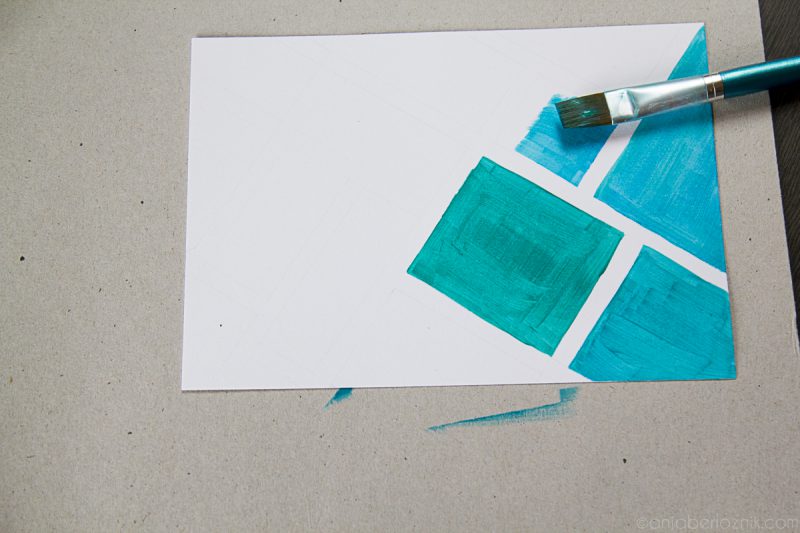
Draw some geometric shapes with a pencil. Paint every shape with different light shade of the same color. It is best that you select two neighbouring colors in the color circle and use their mix. This will bring dynamics to your art, but still everything will be very harmonic. For today’s artworks I used acrylic paint.

Artwork 2:
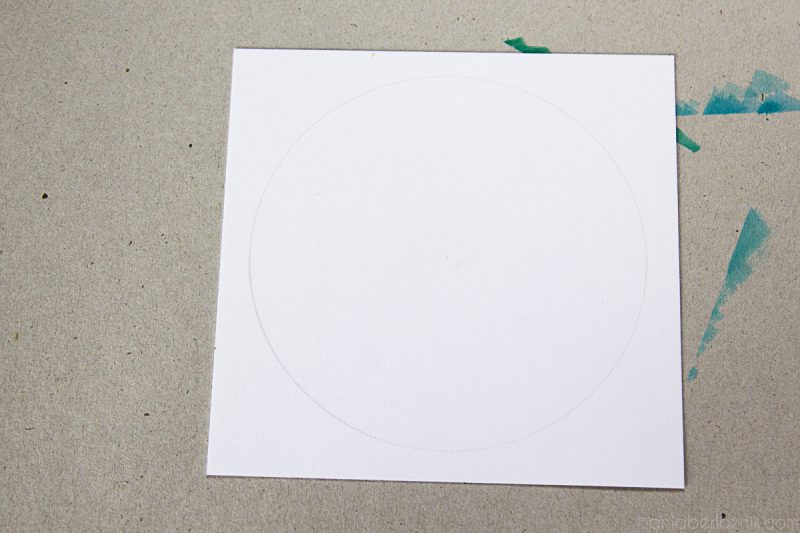
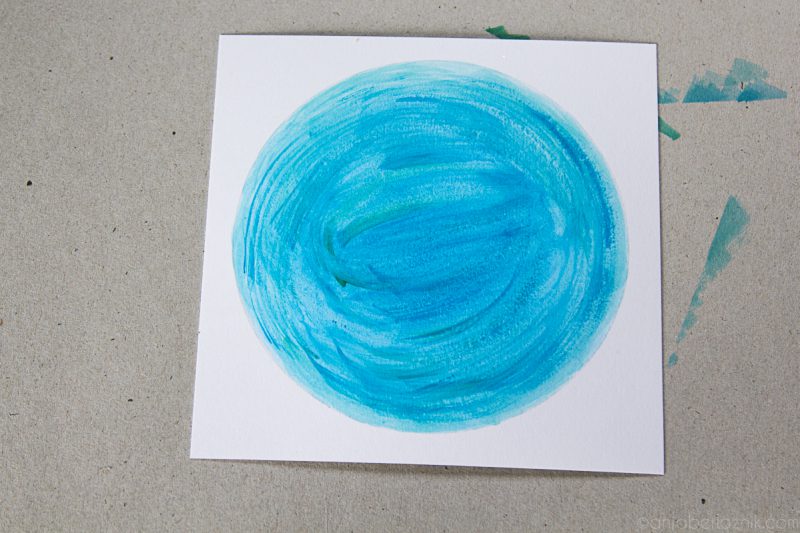
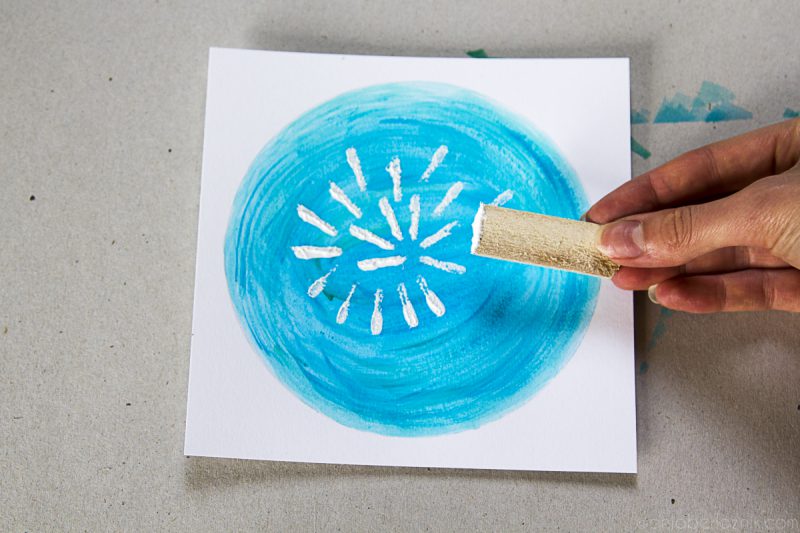
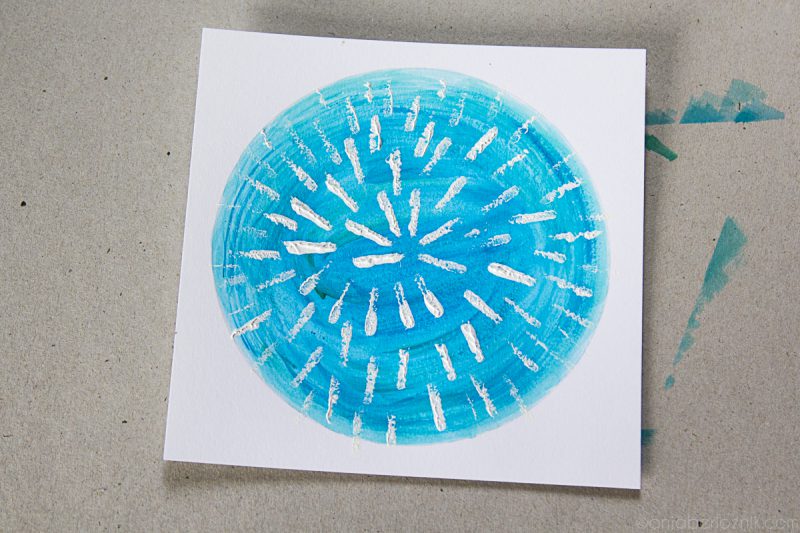
For circular art choose a paper with square shape, otherwise it is better to draw several small circles and arrange them over the entire surface. With compasses, draw a circle and paint it. When dry, use a stamp or an object to make marks. I used a wooden stick and created a pattern that arises from the center.
Artwork 3:
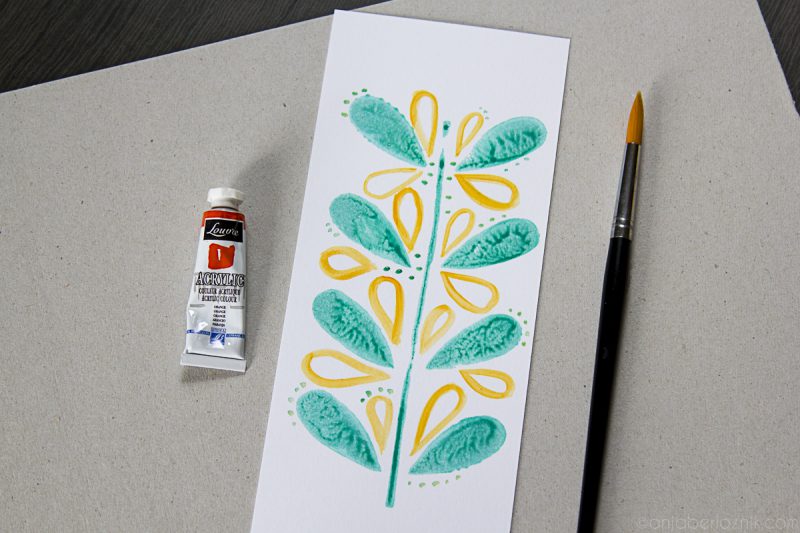
I had this foam stamp for a long time and never used it. I finally dragged it out and made this picture. I made a print and completed it with few brush strokes. I used orange color to make a little contrast.

Artwork 4:
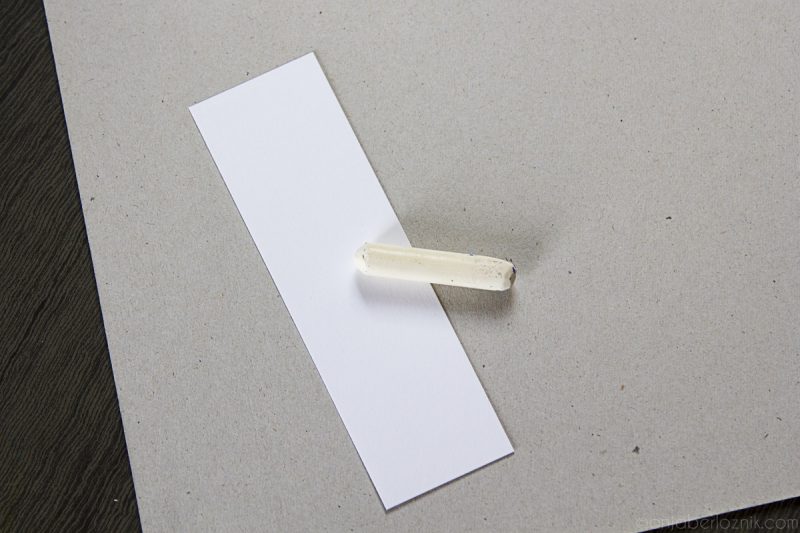
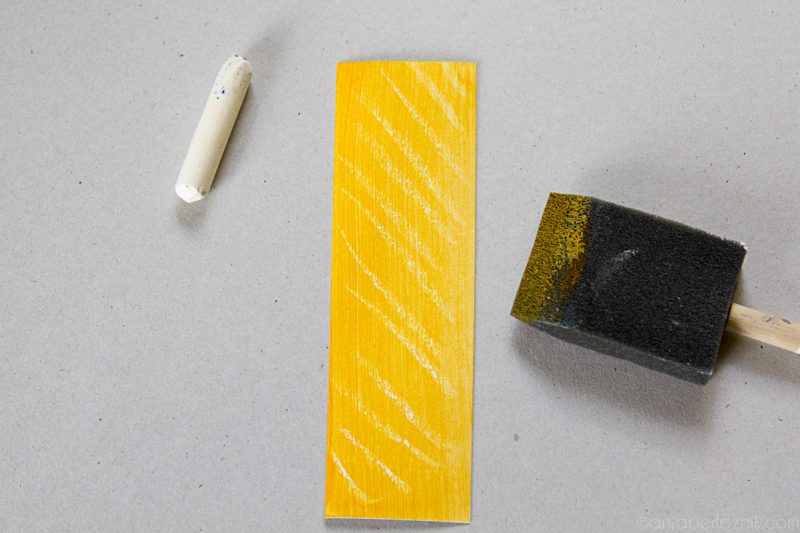
I found a set of crayons, probably I have it since primary school. I have no idea how they actually managed to survive until today, but certainly this brand does not exist anymore 🙂 I used a white crayon to draw some lines. With the help of a sponge, I applied the orange color across the surface. When dry, I gently wiped it with a cloth. In places where I drawed with crayon, as a result, there are lighter areas. Little trick for great effect!
Artwork 5:
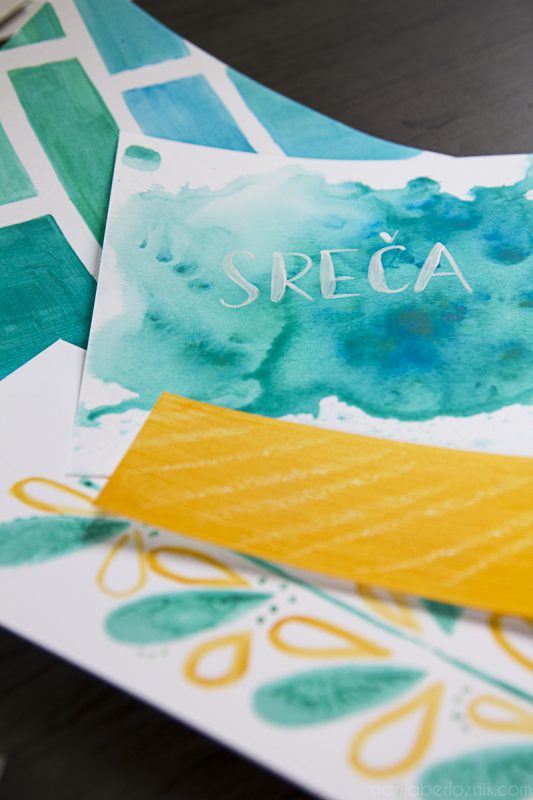
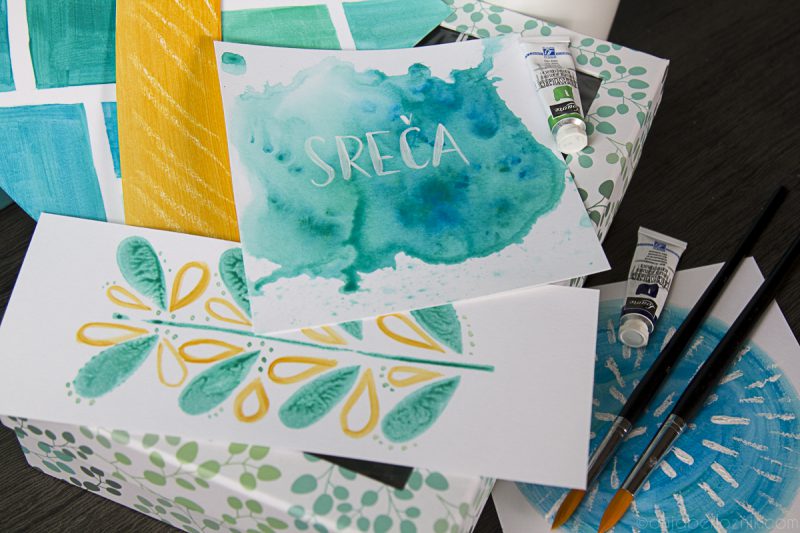
You need a surface that does not absorb moisture. I used a bit more fluid color for this and further diluted it with the water-sprayer (if not available, use really fluid color). Put a paper on this color mix, you can also lay it over several times, to get a background with the look of a watercolor. Dry it well and afterwards use white paint to make nice handlettering. Write an affirmation or encouraging quote.
“Sreča” means luck 🙂

If you were questioning yourself, why to bother with so many artworks, the answer is below. It just looks awesome! 🙂

If you are not choosing the framing too long, this is a really fast DIY for your beautiful home. You can find nother colorful project that you might like here: DIY rainbow painting with a twine.
Leave a Reply